
Understanding Priorities
Priorities are the bread and butter of Yalla. They’re what keep your team working on the right things in the right order. You’ll interact with priorities just about every time you use Yalla, so we’re going to make sure you know them so well you can make them in your sleep.
To create a priority, click on the “New Priority” flag on the left side of your home screen in Yalla. You’ll get a popup asking you for some details about the priority. Here’s a breakdown of each of the fields:
Title: The name of the priority. This is what will show up on boards, in the calendar and everywhere else in Yalla where you can see priorities.
Use a Template: This lets you create a priority based on a pre-created template of one. Great for larger jobs you need to complete frequently. (For more information, see our page on creating priority templates.)
Description: Where you can add more information about the priority, like detailed directions. Shows up whenever you expand a priority from someone’s board.
Tasks: The smaller steps that make up a priority. For example, a priority to “launch the new website” might include tasks for buying a domain name and redesigning the front page. Type a task into the input field and press the Enter key to add more. The buttons to the right of each task let you set due dates for each task, and even assign tasks to separate members of your team.
Due Date and Reminder: When the priority is due and when Yalla will remind you about it, respectively. You can use the calendar dropdown to set a day and time.
Client: Which client the priority relates to. If I assign a priority for myself to ACME Client, the priority will be on my board - but ACME Client will also be able to see that I’m working on the priority when they log into Yalla as a guest. (See this page for more info on inviting clients to Yalla.)
At the top of the priority creation popup, you can also choose to create a priority for another team member or a team instead of yourself. The process is the same - there’s just an extra field where you can choose who to assign the priority to.
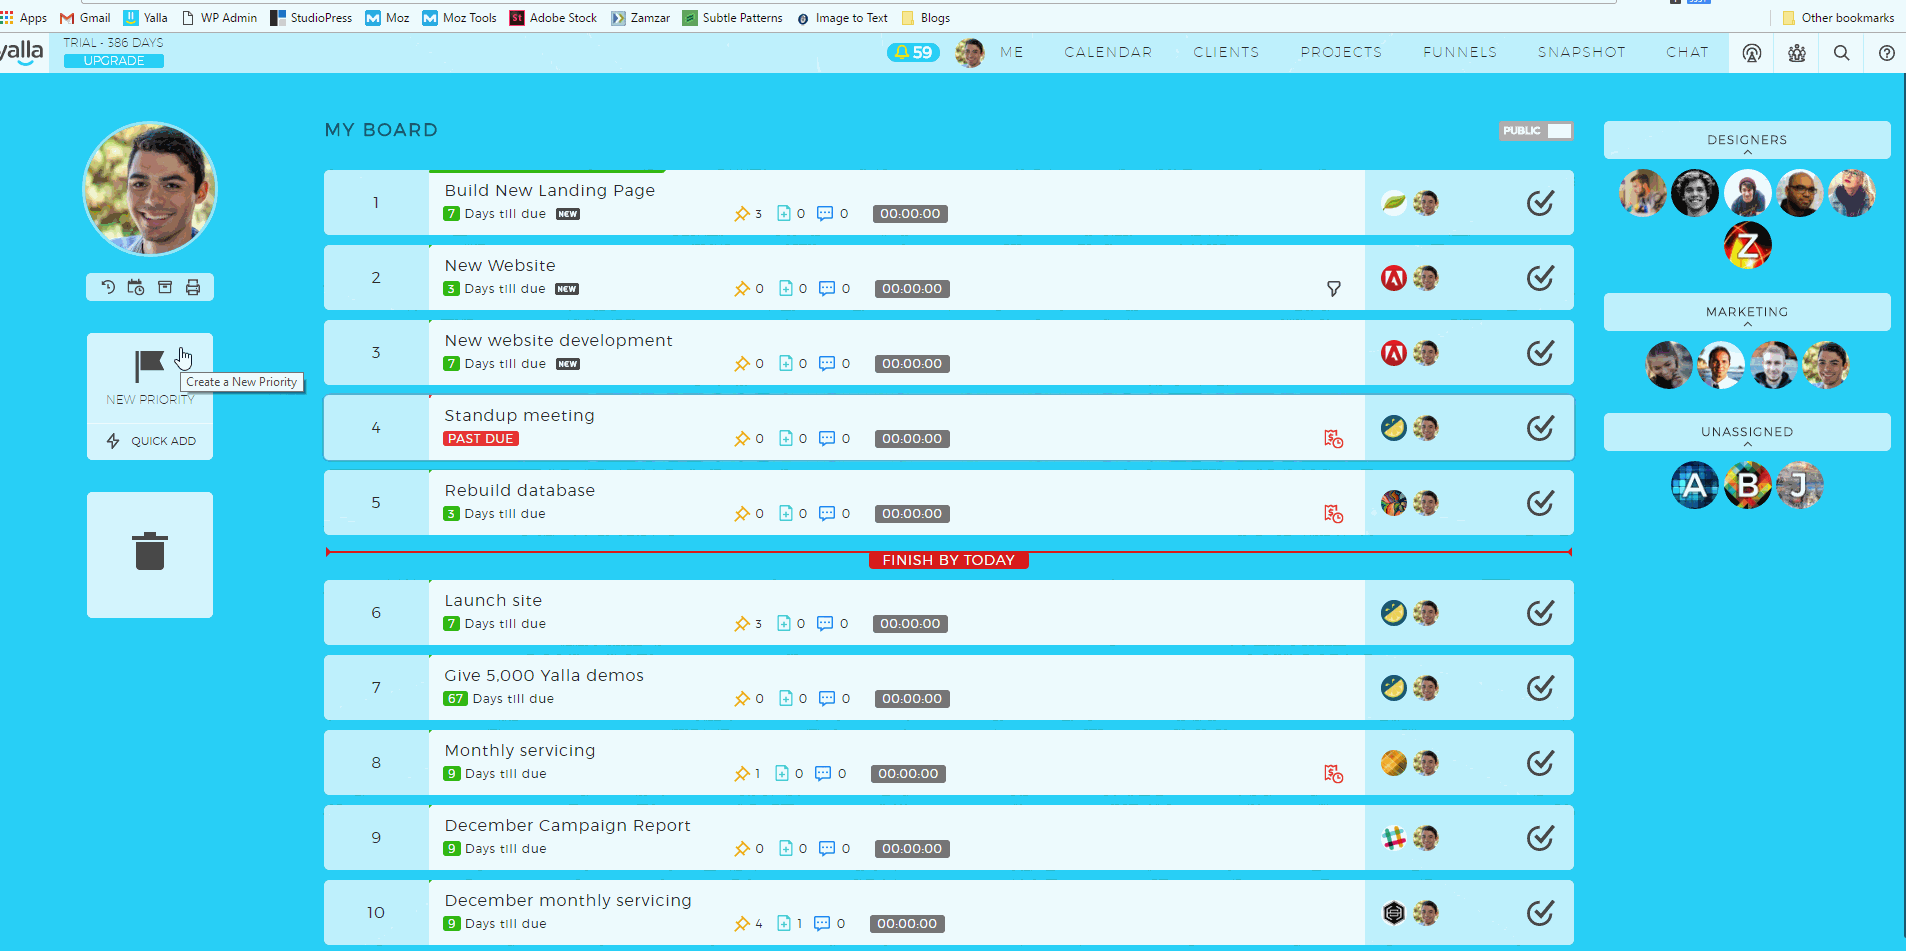
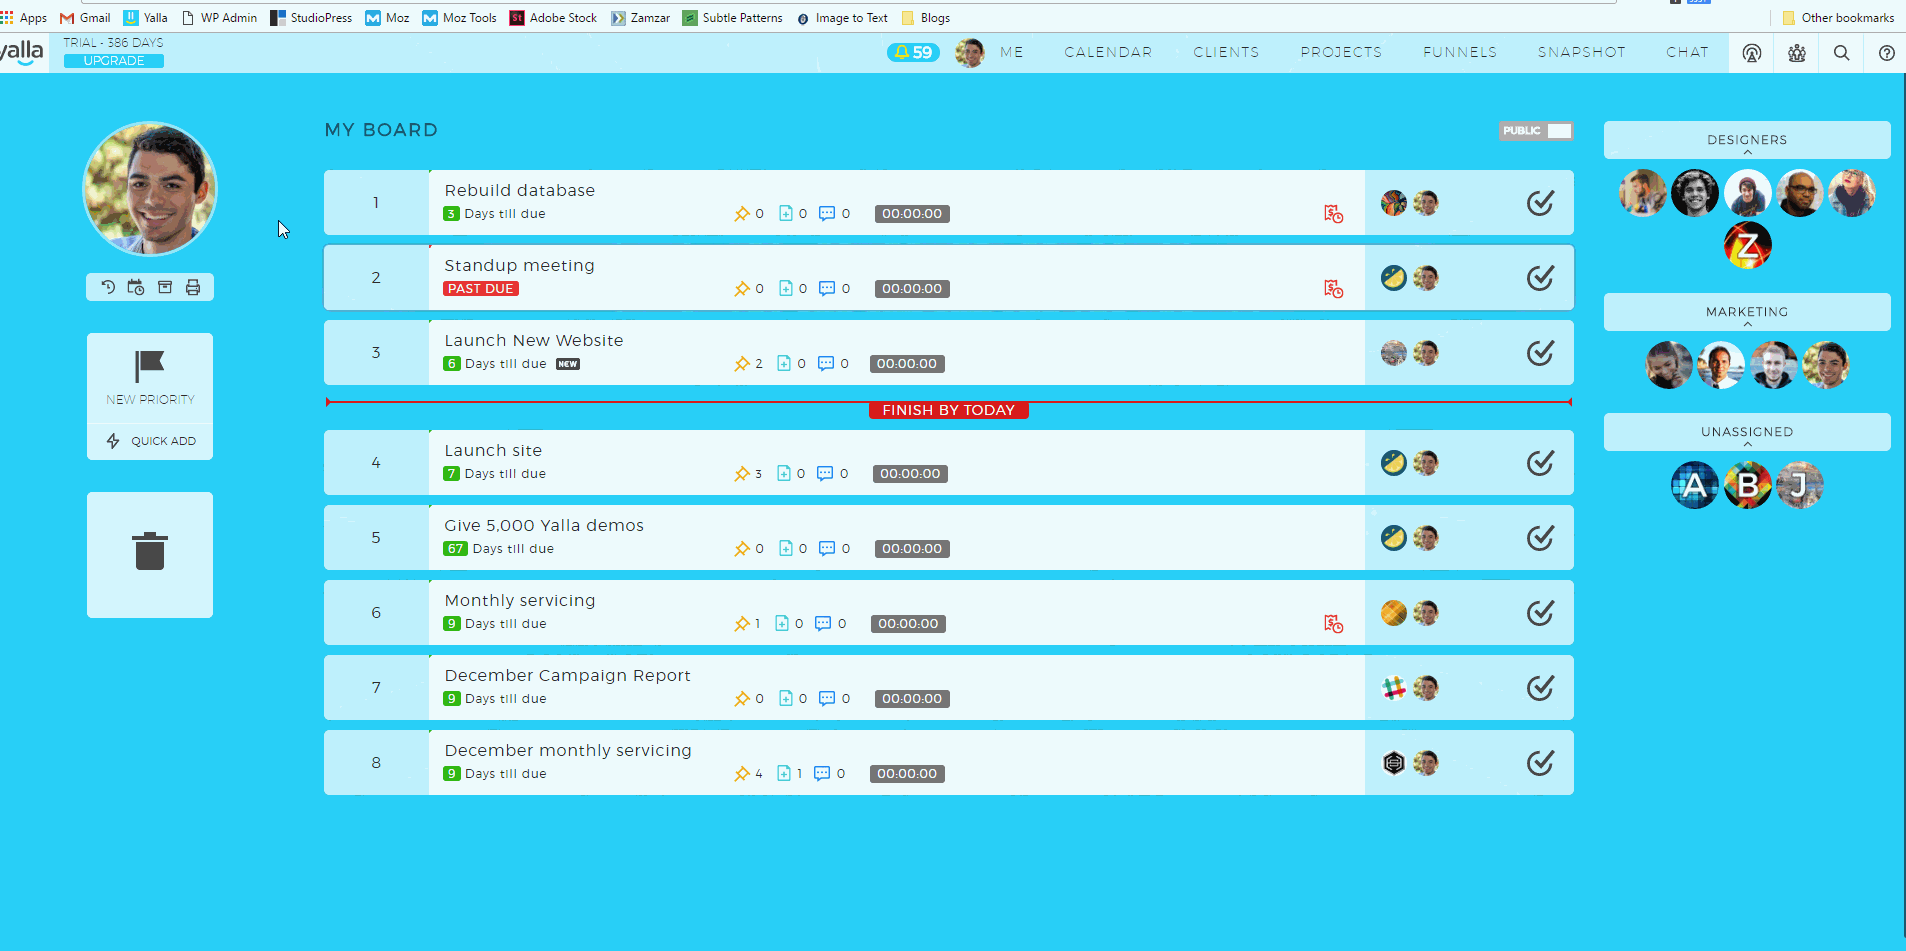
Once you’ve created your priority, it’ll show up on the board of whoever it’s assigned to.You can click and drag on the number to the left of priorities to rearrange their order. When you’ve completed a priority, click the checkmark to the right of it to archive it and remove it from your board.
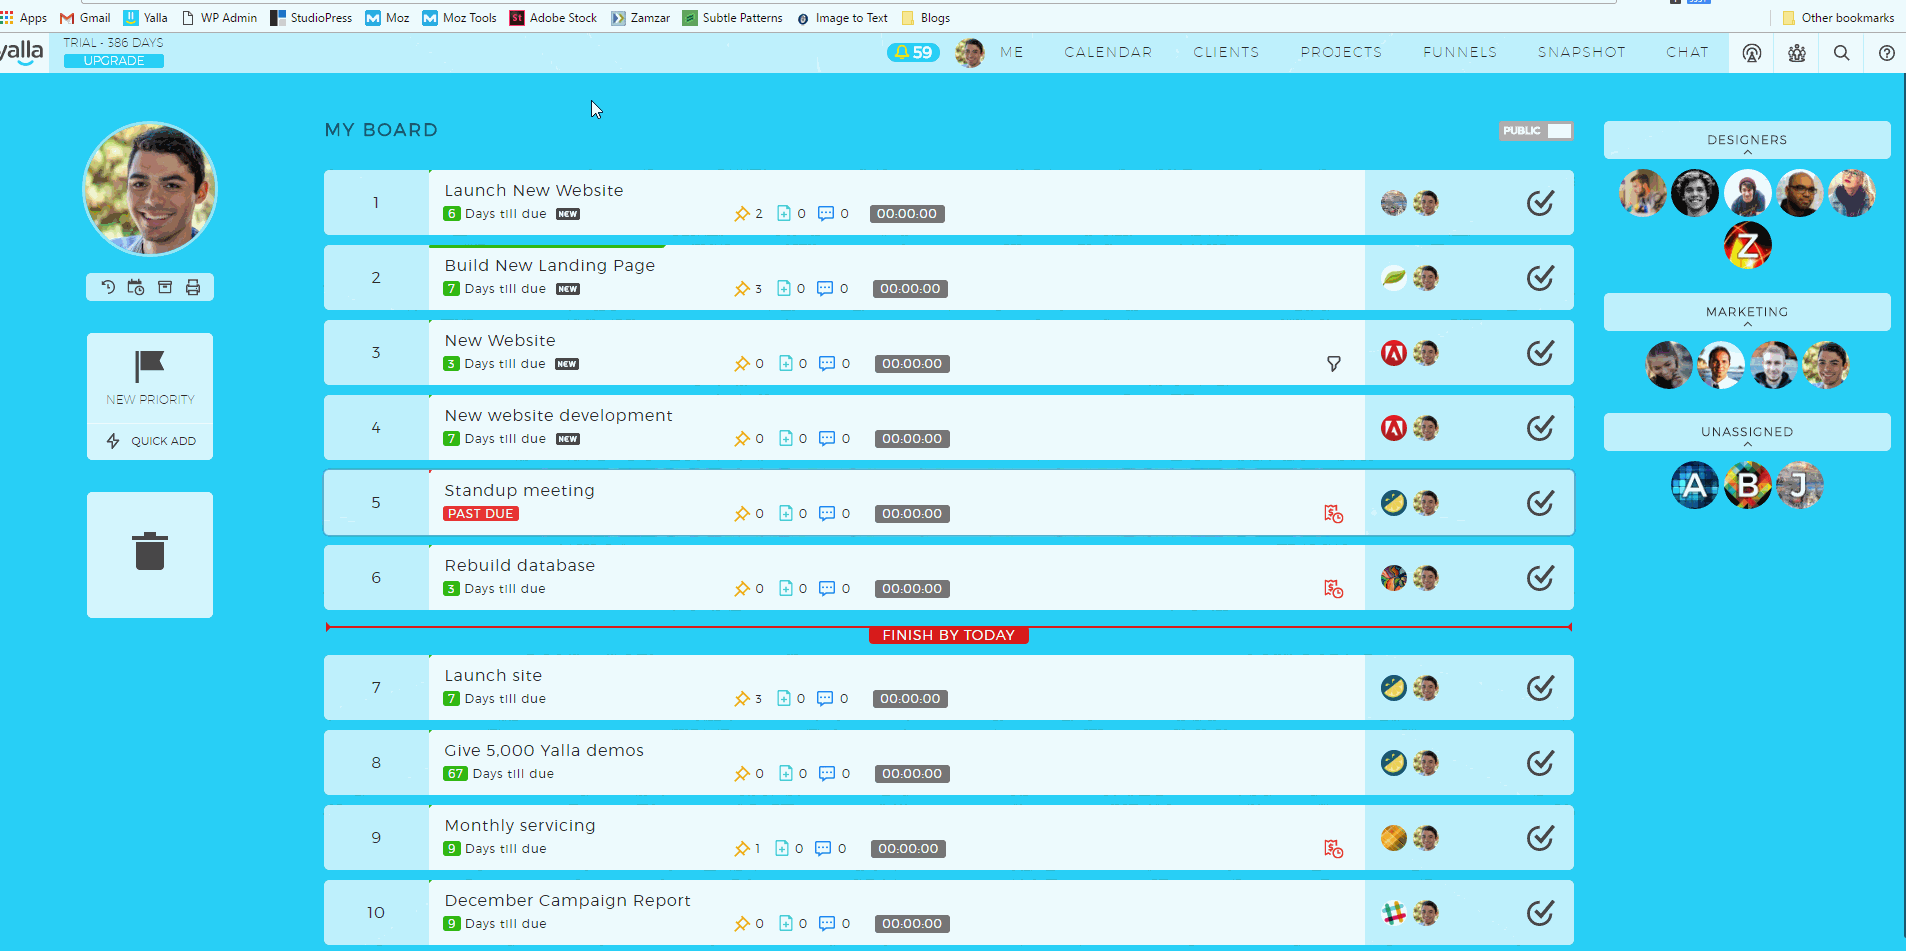
You can also reassign a priority to someone else on your team. Just click and drag the priority onto their face on the right side of your screen. The priority will move from your board to theirs. Try not to abuse this and make everyone else do your work for you.
These are just the basics of working with priorities. Check out the second part of “Understanding Priorities” to learn about more of their functionality, like the ability to store files and track your time.